I have many, many scissors to use with kiddos of all ages. When kids are just learning to cut, the first step I like to begin with is actually not using scissors at all but is tearing paper. That way kiddos are learning how to use both sides of their hand and as we like to refer to it in OT jargon, “separate the sides of the hand.” This allows for skilled movements of the thumb and index finger that we also use when writing.
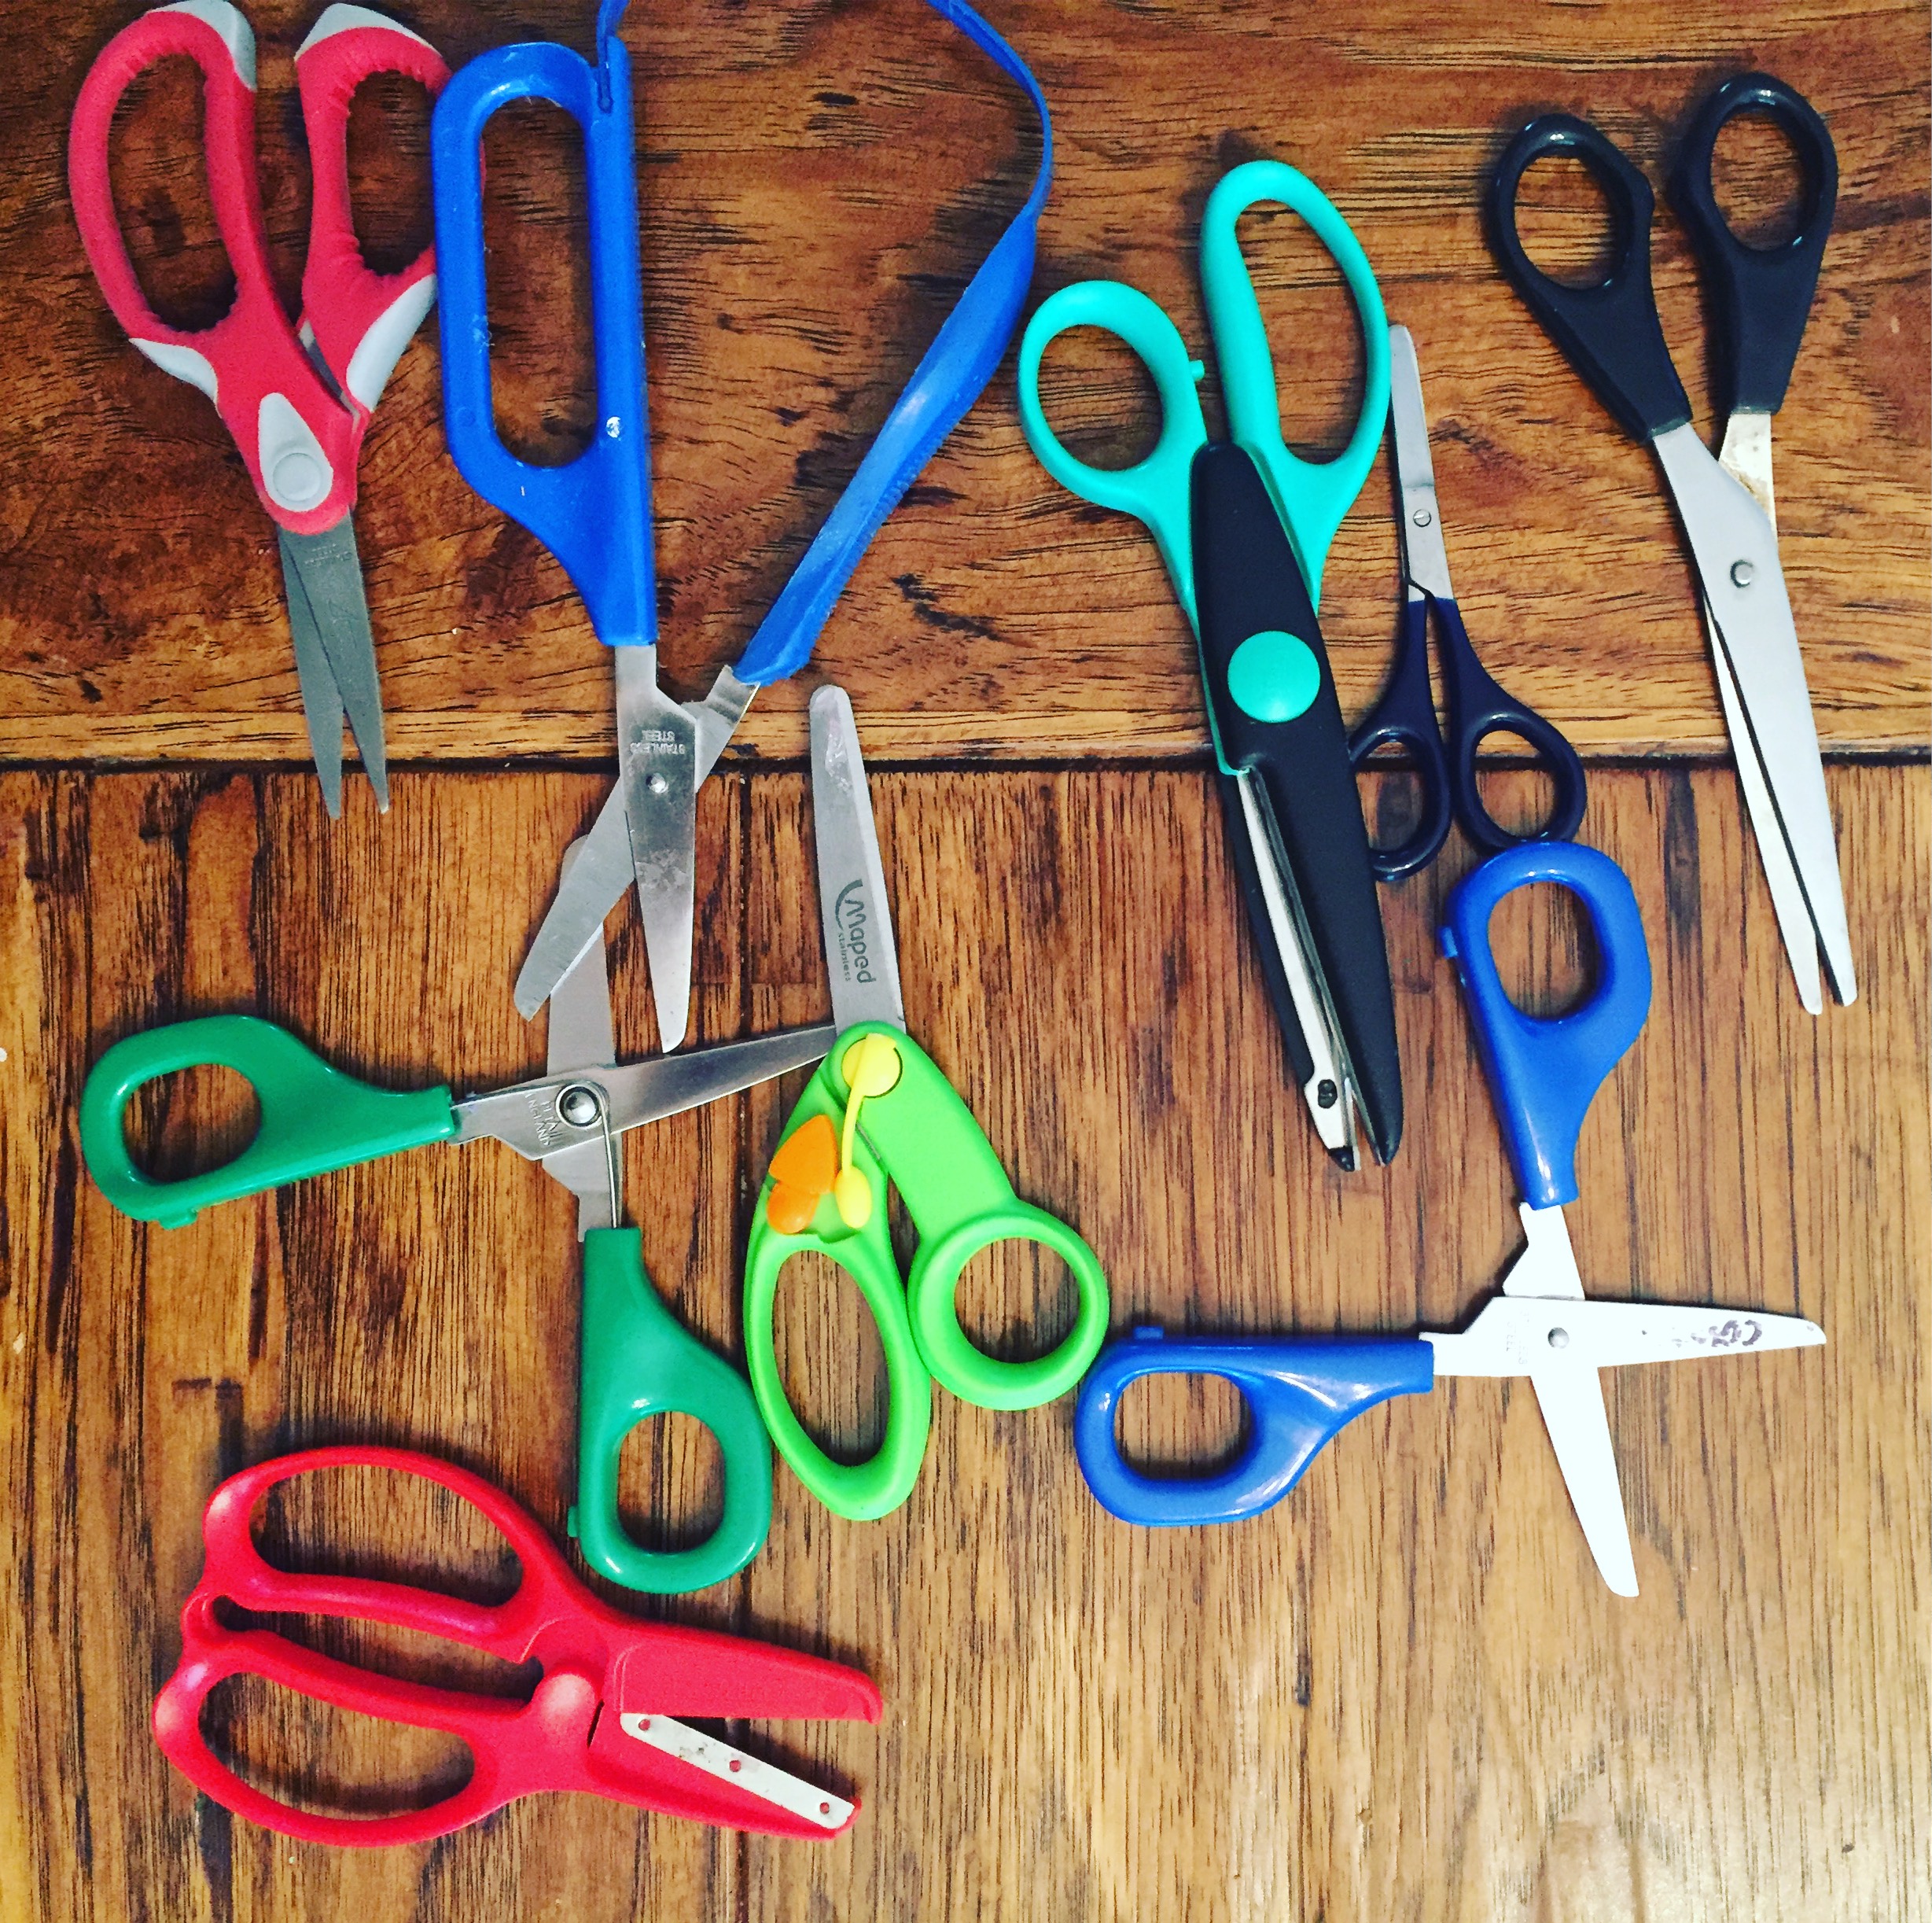
There are many options out there for scissors and I’ll link a few here. It’s great to have options for kids so that they can try different ones to see what feels comfortable in their hands.
*Note that these are affiliate links to my favorite website for OT related products- a small commission- at no cost to you- helps me create this content- I appreciate your support!


To help kiddos place the fingers properly in scissors, the optimal positioning is with the thumb in the small hole and facing towards the face (not turned downward), and the middle finger is in the bottom hole. The index finger is actually best placed outside of the hole so that it can help guide the scissors. The ring finger and pinky are then tucked into the palm to help with stabilization. The fingers shouldn’t be placed all the way onto the scissors so the scissors are almost touching the palm but rather, at the middle knuckle of the fingers to help for easier open and closing.
Use some visuals to help kiddos continue moving forward when cutting. Bold lines, stickers to visually guide them to “cut through the stickers,” or fun and motivating pictures to cut towards. Remember that the sequence of cutting begins with tearing paper, then snipping, and cutting along a straight line and then a curved line. It isn’t until 5 years of age when children can developmentally cut a circle and other shapes. So what is most important is that children know what scissors are for, how to position their fingers, and can coordinate the movements with both hands. That is a complex skill that requires bilateral coordination and motor planning- it takes practice and guidance.

How cool are these magnets that fit on top of the scissor blade to help motivate and guide kiddos as they cut?!
Cutting leaves, stems, and here- Lavender- can be a great way to practice scissor skills. The effort it takes to cut thicker items also helps to strengthen the palmar arch!


Wallpaper samples are the perfect thickness to practice cutting! Cutting on thicker paper like cardstock or wallpaper samples helps to slow down and develop the motor memory needed rather than cutting on thin paper that requires very little effort. This does require more persistence so is better for the child who has some experience cutting, to minimize frustration.
These are one of my most favorite tools ever to introduce scissor skills with sensory bins!

Snipping play dough is another super fun way to practice cutting. It requires many of the skills that we need to cut such as bilateral coordination. First by rolling the play dough into a long “snake” and then holding it with one hand, and cutting with the other. Here are some scissors we love for play dough:

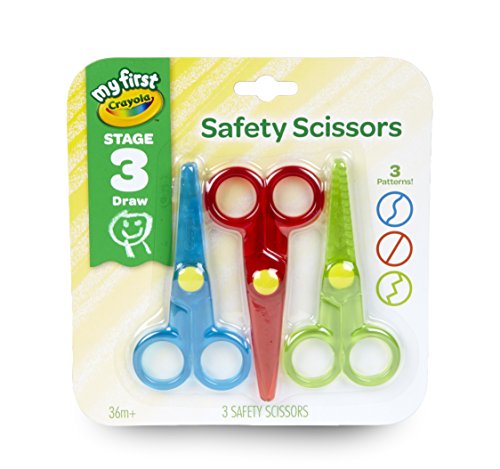
These are the coolest safety scissors for kids! They actually cut paper really well!
Using tongs also helps kiddos with the separation of the sides of their hand. Pocket Full of Therapy has so many tongs and the options are endless to play around with tongs. We have even had a very fun dinner using tongs or child-chopsticks! It is such a novelty and a fun way to eat when you are only familiar with using a fork or spoon! Click on the picture to see some of my favorite tongs!

So tell me, what are some of your favorite ways to practice cutting? How do your kids or clients like to practice cutting? I used to do Pinterest-y crafts to practice but now I love to use natural materials like scraps of paper, flowers, cooked spaghetti, straws (they fly everywhere making for a fun cause and effect!)